By Diana Elizabeth Steffen
If you’re thinking about hosting a Friendsgiving in your backyard, but don’t know where to start, here’s a guide to make it easy and convince you to start inviting! Friends love to gather and appreciate an invitation, and as the host, you just need to get started with the organizing, and they can bring the food!
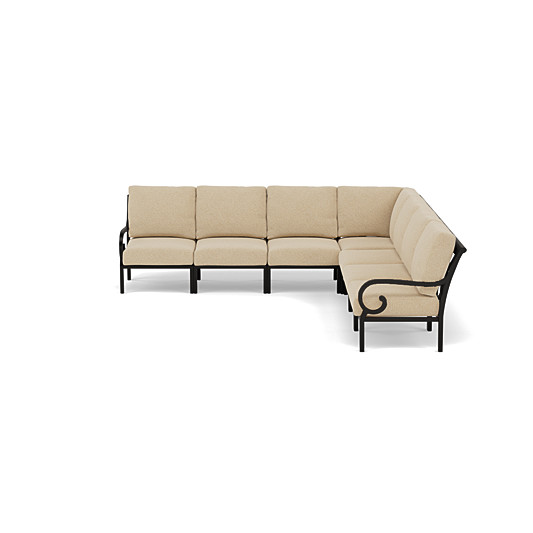
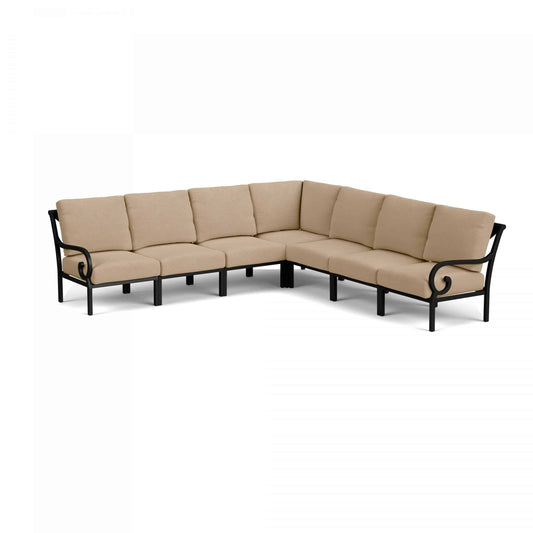
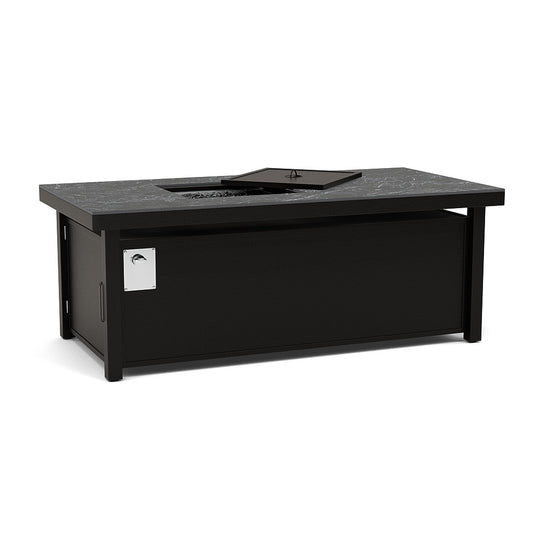
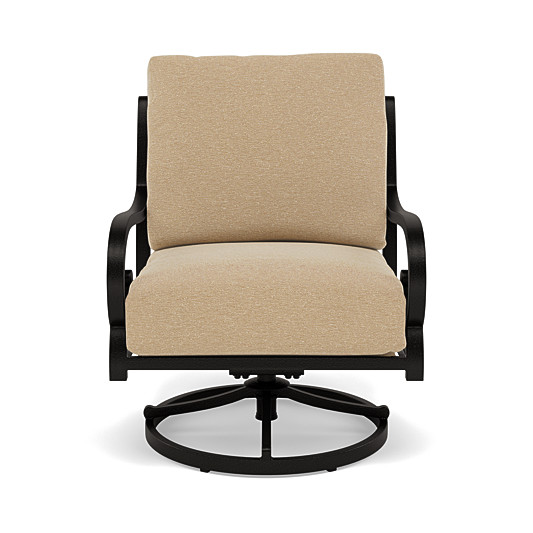
Explore Paddy O's Rancho Collection, the perfect Collection for hosting.
Decide on a time and date, and send the invitation!
Like any holiday, there are no rules, just your preferences or traditions! Some are ready to enjoy Thanksgiving meals at 2 pm and continue eating throughout the day, while others like a later dinner. It’s entirely up to you!
If the weather is cooler on the day of your gathering, consider an earlier time to gather and eat. Keep in mind you may need 30 minutes for everyone to arrive and settle in before you can actually sit down and enjoy the meal together. Keeping the oven warm or having a silicone food warmer mat is a good idea.
For a stress-free and well-planned Friendsgiving, I recommend using Paperless Post. It's a convenient way to manage your event, allowing you to link to a Google sheet or a wall where guests can comment on what they're bringing and see what others have planned. This tool will help you stay on top of things and ensure a well-coordinated meal.
Assign everyone a dish or have a signup sheet.
As the host, I always recommend being in charge of the main course. This would be the turkey or alternative meats, depending on your diet or tradition. This way you know if someone gets sick or suddenly cannot make it, you won’t be rushed to cover the main protein. You can easily assign people an appetizer, side dish, dessert, or protein. And don’t forget about the drinks unless, as the host, you’d also like to cover that for peace of mind! I suggest covering the protein (turkey) and all the drinks.
What to have on hand for setup as a host
Aside from setting up the table and chairs, this is your shopping/set up checklist:
- Plates, napkins, flatware, cups, and ice
- A dedicated buffet table for the food, plates, napkins
- Serveware, in case guests forget to bring serveware (e.g., large spoons)
- A drink station area
- A table for dessert (desserts can also be placed at the end of the buffet)
-
Food warmer mats for food to stay warm (or ask guests to bring theirs if they own one) and supply outlets and extension cords for everything that needs to be plugged in
- Food covers (to keep insects away)
- Trash can
- Blank food labels (for everyone to write down what they brought or what the ingredients were used as a way to help guests with allergies or intolerances). Leave them with a few pens handy.
- Outdoor lighting if necessary

As a person who regularly hosts, my general guideline regarding disposable plates versus formal place settings is that if the party exceeds the number of place settings I own, then I use disposable! This doesn’t mean it has to be boring. You can find colorful and themed paper and plastic plates at Home Goods, Party City, or Amazon. They can be found for just about any theme, and are usually available in a great color palette! Plus, they make cleaning up easy for you!
These are the plates I purchased a few weeks ago from Home Goods that are disposable and have a pretty look for a Friendsgiving:
The best part is that it takes very little investment and won’t take up any storage space afterward. I love the paper placemats that can help create your theme and freshen up a table while also being disposable at the end of the event!
As the host, you can set up the tables with only florals, a tablecloth, a paper runner, or paper placemats. You don’t need to worry about setting place cards if it’s a large group and relatively informal. The formality is up to you, based on the size of your guest list and what you want to focus on as a hostess. If it makes you happy, do it! If you want to focus on other things for the Friendsgiving, like frying the turkey, then do that! Your guests are so glad to gather and celebrate friendship.
How to set up the buffet
A table for all the food is great, but if you want to group items together, you could arrange small bites and appetizers together.
If you have the room, the proper way to set a buffet for everything would be as follows: In a clockwise rotation, start with the plates, salad, cold foods, hot foods, main course, followed by bread and butter. End with napkins and flatware so guests can grab and find a seat.
Desserts can also have their own table or you can set them out later.
A separate drink station is always handy, too.
Get creative with the way you set up the tables.
Instead of a banquet, you could also arrange your tables in a U-shape, a square (with space in the middle so everyone is facing each other), or an H. It’s entirely up to you!
Enjoy the time of celebrating friendship over a delicious meal. Gather together and enjoy one another’s company!
Diana Elizabeth Steffen is a Phoenix-based lifestyle blogger at dianaelizabethblog.com, where she shares her home and garden projects with her camera in hand!


