How to Create Holiday Centerpieces Using Store-Bought Flowers
Written By Jenna Smith
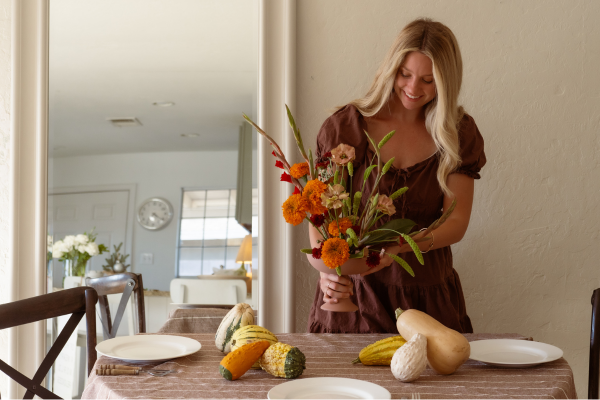
There is nothing like fresh flowers in your home. A holiday centerpiece sets the stage and tone for a beautiful meal for friends and family to gather around and celebrate together. Holiday centerpieces aren’t restricted to indoor get-togethers, they can also be used to accentuate your tables, counters and sideboards when entertaining outdoors.
Using store bought florals, I am going to show you how to create some stunning centerpieces for your table with just a few simple steps.
With a couple tools to help the process, and knowing what to look for at the store, I am confident you can create an impactful holiday flower design that doesn’t look like ordinary, grocery store flowers.
Step One: Gather Your Materials
- A container
- Floral tape or floral frog
- Floral scissors or secateurs
- Flowers
- Water + flower food
Step Two: Shopping for Your Flowers
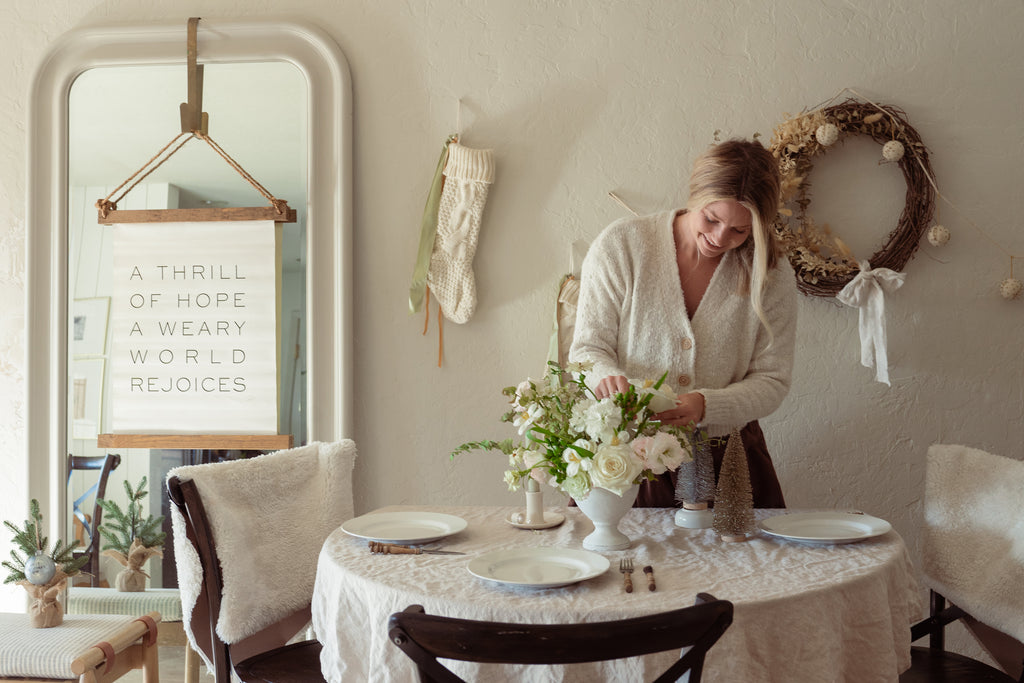
The most important thing to keep in mind when shopping for your flowers is color and texture. I look for a mixture of flowers that include round shapes, linear lines, and a unique appearance to add into the design. Having a color scheme in mind helps when looking at the mass amounts of flowers to choose from. For the Thanksgiving centerpiece, I knew I wanted a mix of deep tones with pops of orange. While shopping for my Christmas centerpiece, I decided to go for icy whites, instead of the traditional red and green. A few of my favorite grocery stores to shop for flowers include: Trader Joes, Fry’s/Kroger and Costco. Make sure to consider the size and scale of what you want your table arrangement to be. Typically, I recommend purchasing 3-7 bunches of flowers so you have enough to arrange a beautiful design.
Step Three: Prep Your Flowers
 Once you select your flowers, head home and get them in some fresh water to hydrate. After they have been able to soak for at least an hour, it is time to start processing them. Processing is giving your flowers optimal prep in order for them to live as long as possible. It also makes them prettier.
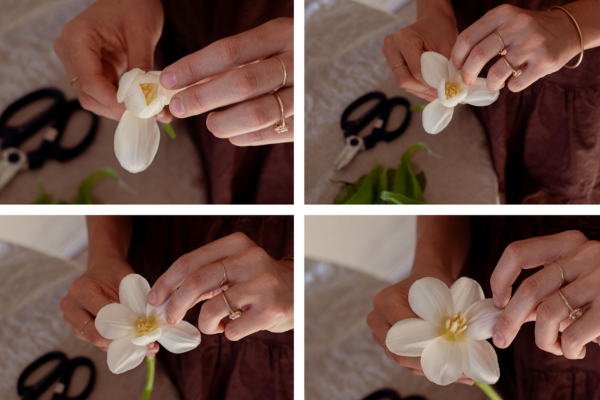
Start by snipping the ends from all the stems at a 45-degree angle with a sharp pair of floral scissors. This will give each flower the ability to soak in as much water as possible. Next, remove any leaves, thorns or foliage that will hit the water line in your vase. This keeps bacteria from growing in your arrangement, and allows the flowers to stay happier and healthier for longer. If you have any roses, remove the guard petals + green leaves that surround the base of the floral head. Pulling the petals outward from the center gives roses a more full and open look that creates a bigger impact. If you have selected tulips, I love reflexing their petals, by pulling each petal backward towards the stem. It creates a totally different look than the traditional flower, which I love.
Don’t be afraid to play with how you can make your flowers look and feel more unique. When putting flowers in your arrangement, make sure to add flower food to the water. A small packet is usually attached to your grocery store flower packaging. This ensures the flowers get enough sugar and food while living in their vase.
Step Four: Design Your Centerpiece
After your flowers are freshly cut and clean, it is time to start arranging. This is the fun part. Grab a vessel of your choice. I love using different thrift store vases, ceramics, or unique containers that are cohesive with the theme and color choice of my flowers.
Prepping your vessel with either floral tape or a pin frog allows you to create depth and movement in your design. It makes it much easier to play with the flowers and angles you want. In these arrangements, I will show you how to use both mechanics.
 While creating the design, I first think of the overall shape I want. I typically like to make asymmetrical designs, so I will start with the longest foliages or linear flowers first and build from there. I carefully place each stem and then stand back to see what takes shape. I always work in numbers of 3-5 of each flower. Once I have the overall shape, it’s time to place your focal flowers. If you are using roses, mums, carnations or a larger-headed flower, these would be considered your focal flowers. Keep in mind the planes and angles each flower is facing when designing your focals. Next, I like to place my filler flowers. This could include berries, greens, textural blooms, or grasses. When I find holes in the design, I place the filler flowers in the negative space.
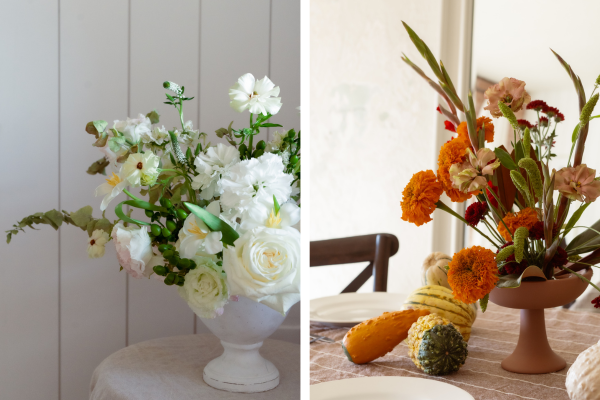 The last part is adding in floater flowers. This is my favorite step in the design process. Grabbing airy, light and smaller blooms, I like to place these on the highest plane of the design to make it look like there are floating flowers that dance across the arrangement. This takes your design to a whole new level of interest and depth. And voila! Your beautiful arrangement is ready to be placed and enjoyed.
Now it’s time to invite your friends and family, gather for a meal + enjoy the beauty you created!
Jenna Smith is a Phoenix based florist for weddings and events. She resides in central Phoenix with her husband, daughter, and second child on the way! Check out milkandhoneyflorals.com to see her work.
Featured Products
-
Rectangular Dining Tables - Multiple Colors and Sizes
Regular price$2,200.00 USDSale price Now From $1,550 29% LessRegular price $1,550Unit price per{{count}}% Less -
Round Dining Tables - Multiple Colors and Sizes
Regular price$1,050.00 USDSale price Now From $740 29% LessRegular price $740Unit price per{{count}}% Less -
Mission Stackable Sling Dining Chair
Regular price$400.00 USDSale price NOW $299 25% LessRegular price $299Unit price per{{count}}% Less